Deep Sky Astrophotography Setup
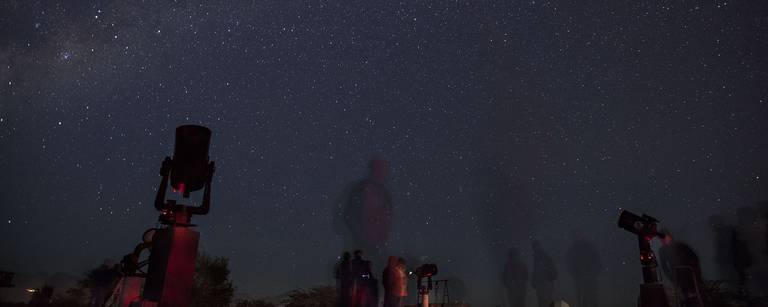
What follows is a mid/entry-level telescope-based astrophotography setup. It contains everything you will need to start shooting the skies. Below is how the Andromeda Galaxy would fit into your image using this setup (this image is heavily compressed, so details are lost).

Telescope Tube
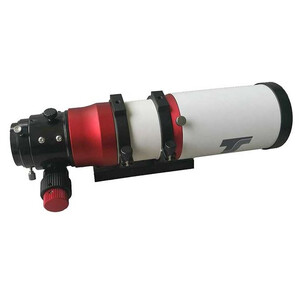
The TS Optics Apochromatic refractor 70/474 is ready for astrophotography. This telescope includes a so-called field flattener, an additional lens mandatory in astrophotography.
Without the field flattener, only the stars right in the middle of the image would look like points, everything located around would be stretched. Its focal/aperture ratio of 6.8 is a nice compromise. The field of view is large enough for the Andromeda Galaxy or the Orion nebula to fit inside while the focal length allows you to capture plenty of objects.
Camera
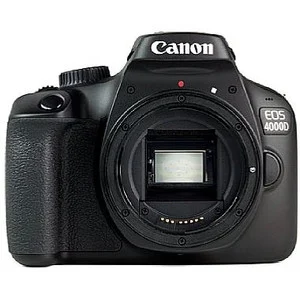
Pair it with the astromodified Canon EOS 4000Da camera for easy color imaging. Let's stop a minute here, what does astromodified mean? A DSLR that is astromodified is a DSLR modified for astronomy.
A regular DSLR camera has a filter that reduces, or suppresses, the non-visible light such as the far-red wavelengths. This makes perfect sense for daylight photography since you don’t want the infrared or the near-infrared light to interfere with your image. This is what would happen without a filter since the captor inside the camera reacts to this very portion of the light otherwise invisible to the human eye. In astronomy, however, infrared light is a fundamental part of what some objects, nebulae for instance, emit and you want to capture that light. The modification consists in removing the infrared filter, which is a delicate operation done by specialized companies. Daytime photography becomes tricky, though. The white balance and the autofocus may need some tweaking to produce good results.
Equatorial mount

The Skywatcher EQM-35 PRO mount is probably the best value for this astrophotography setup.
It’s a motorized equatorial mount controlled through a handset. According to the vendor, it has over 42,900 astronomical objects in its database and will automatically point the telescope at the selected object using the so-called Go-To feature.
These Go-Tos need calibration in order to work properly which is done by making the mount pointing at one, two or three reference stars and fine-tuning it manually so the star is right in the middle of the eyepiece. Even then, however, the accuracy of the Go-To is not 100% and you will need small corrections even once calibrated. Which brings ut to the—
Autoguiding system
While equatorial mounts do track the rotation of the Earth, with longer exposures (over 30 seconds) their accuracy is not enough to prevent the object you are photographing from drifting in the field of view. You will need an autoguiding system to keep your target centered. This is done with a guidescope and a guiding camera attached to it.
Guide Scope
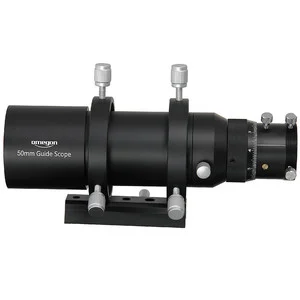
The Omegon Microspeed and its 50 mm diameter lens (2 inches) is a good value for a guidescope. I wouldn't recommend it for a telescope with a bigger focal length, but it's just perfect for this specific setup.
Guiding Camera
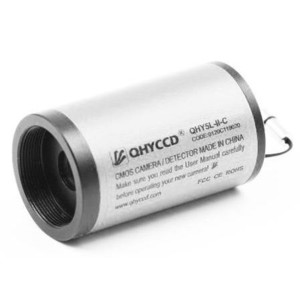
The the QHY 5 L-IIc is an affordable guiding camera that doubles as a planetary camera.
Astrophotography Computer
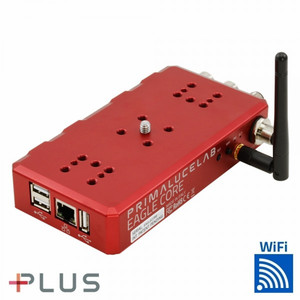
The PrimaLuceLab Eagle Core is a standalone computer that will take care of your astrophotography session.
It will manage your DSLR camera, your mount and your autoguiding system. You can access it through your phone or your tablet (iOS and Android app). It will use the guidescope and the guide camera to monitor the sky and to fine-pilot the mount so the target you are photographing stays centered. It will also take control of the DSLR camera and make it take the exposures during the astrophotography session.