Astrophotography: Shooting the Stars
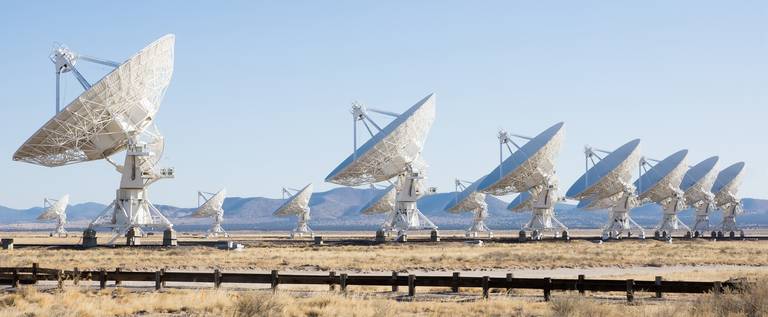
Astrophotography is a word that designates a host of different techniques for taking photographs of the night sky. Astrophotography is what professional telescopes do to gather scientific data. It is also a discipline practiced by some amateur astronomers, as well as something that photographers who are not astronomers do as part of their art. Even though the gear amateur astronomers use can get expensive very quickly, a simple mid-priced DSLR (digital single-lens reflex) camera can already do wonders. Overall, however, visual astronomy and astrophotography are two different beasts. You won’t produce the amazing photographs you see in magazines or on Internet forums just by pressing your smartphone’s lens against your telescope’s eyepiece, and there are many reasons for this. While this article is by no means intended to be a lecture on astrophotography, we will try to sketch out how it’s done and what kind of equipment you’ll need.
Check also: Photographing the Planets
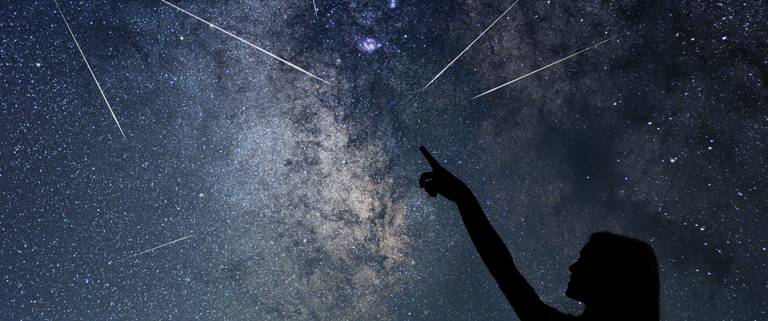
Deep sky objects are very faint, which we discussed in the first part of this article. The nice thing about astrophotography, though, is that you can use longer exposures to collect as much light as you can, something that you cannot do with your eyes. Sensors in digital cameras have an ability to stack the light. Longer exposures mean more detail. There is a drawback, however, because at this point you are running into another issue: the rotation of the Earth. You have probably already noticed that the position of the stars, the Moon and the planets changes in the sky during the night. The whole celestial dome seems to revolve around an axis centered on a point near the Pole Star (in the northern hemisphere, since there is no pole star to mark the position rotation axis in the southern hemisphere). This means that whatever apparatus you utilize to photograph the sky, at some point you will need it to compensate for the rotation of the Earth. This is where the mount on which you attach your telescope or your DSLR camera comes into play. First, you will need an equatorial mount (to learn more about this in detail, have a look at our article about Telescope Mounts).
While a simple DSLR camera pointed towards the sky—maybe with the help of a small equatorial mount like the Skywatcher’s Star Adventurer—can produce amazing images, people who do astrophotography often attach their DSLR cameras, or cameras specially made for astrophotography, to a telescope. So, which telescope is used for astrophotography? There is no simple answer. One thing is sure, compared to visual observing, you can do with a smaller aperture, as longer exposures will compensate for the smaller diameter of your lens or mirror. In Visual astronomy: Observing the Sky, we mentioned that the focal length determines how much of the sky will fit into your image, or field of view. With a long focal length, you will be able to capture smaller objects, like distant galaxies for instance, but this literally comes at a price.
Indeed, in the Telescope Mounts article you learned how to align a mount with Earth’s axis so it compensates for its rotation during the night in order to track the same object during long exposures. Unfortunately, no alignment is perfect and no telescope mount is without flaws. As a result, the object being photographed will drift onto the image and the stars will come out not as neat points, but as lines! And the stronger the magnification, the worse it gets. For this reason, astrophotographers plug computers into their mounts and attach a second small scope (called a guidescope) onto their main telescope. They then add a small, specially designed camera onto the guidescope itself and plug it into the computer. At this point the computer will select one or more stars in the field of view of the guidescope and the camera and using a specialized software will monitor the drifting of the star (or stars).
Check also: A Telescope for Astrophotography
In a perfect world with a perfect mount that is carefully aligned with Earth’s rotational axis, nothing in the telescopes’ field of view should move. In reality, however, the computer will eventually notice a drifting of the star (or stars) it is monitoring and will react by communicating with the mount and making it perform tiny adjustments in order to compensate for the unwanted drifting. Et voilà! You have your perfect astrophotography setup. Building it, however, may get costly very quickly, this is why beginners should consider visual astronomy first with maybe a DSLR camera and a Star Adventurer mount on the side for doing some imaging. This is not a configuration that will suit everybody, there are many different options for building your own astronomy setup, whether you’re into observing or into astrophotography, but it is one of the affordable choices.
What follows is an attempt to present you with different options for astrophotography. These are some suggestions that you can use directly, or adapt to suit your preferences, or budget:
Planetary Astrophotography Setup
Deep Sky Astrophotography Setup